本文實例講述了Python實現PS圖像抽象畫風效果的方法。分享給大家供大家參考,具體如下:
今天介紹一種基于圖像分割和color map 隨機采樣生成一種抽象畫風的圖像特效,簡單來說,就是先生成一張 color map 圖,顏色是漸變的,然后針對要處理的圖像,進行分割,這里用的是 SLIC 分割算法,然后從 color map 中隨機采樣,將采樣得到的像素值賦予分割后的圖像區域。
# -*- coding: utf-8 -*-"""Created on Sun Aug 20 08:31:04 2017@author: shiyi"""import numpy as npimport matplotlib.pyplot as pltfrom skimage import iofrom skimage.segmentation import slicimport numpy.matlibimport randomfile_name='D:/Visual Effects/PS Algorithm/9.jpg';img=io.imread(file_name)row, col, channel = img.shape# define the colormapcolor_map = img.copy()rNW = 0.5rNE = 1.0rSW = 0.0rSE = 0.5gNW = 0.0gNE = 0.5gSW = 0.0gSE = 1.0bNW = 1.0bNE = 0.0bSW = 0.5bSE = 0.0xx = np.arange (col)yy = np.arange (row)x_mask = numpy.matlib.repmat (xx, row, 1)y_mask = numpy.matlib.repmat (yy, col, 1)y_mask = np.transpose(y_mask)fx = x_mask * 1.0 / colfy = y_mask * 1.0 / rowp = rNW + (rNE - rNW) * fxq = rSW + (rSE - rSW) * fxr = ( p + (q - p) * fy )r[r<0] = 0r[r>1] =1p = gNW + (gNE - gNW) * fxq = gSW + (gSE - gSW) * fxg = ( p + (q - p) * fy )g[g<0] = 0g[g>1] =1p = bNW + (bNE - bNW) * fxq = bSW + (bSE - bSW) * fxb = ( p + (q - p) * fy )b[b<0] = 0.0b[b>1] = 1.0color_map[:, :, 0] = r * 255color_map[:, :, 1] = g * 255color_map[:, :, 2] = b * 255# segment the imageN_block = 100segments = slic(img, n_segments=N_block, compactness=10)# plt.imshow(segments, plt.cm.gray)seg_img = img.copy()T_mask = img.copy()for i in range(N_block): mask = (segments == i) T_mask[:, :, 0] = mask T_mask[:, :, 1] = mask T_mask[:, :, 2] = mask x_ind = int(random.random() * (col-1)) y_ind = int(random.random() * (row-1)) color = color_map[y_ind, x_ind, :] T_img = seg_img * T_mask T_img = color seg_img = seg_img * (1-T_mask) + T_img * T_maskplt.figure(2)plt.imshow(seg_img)plt.show()
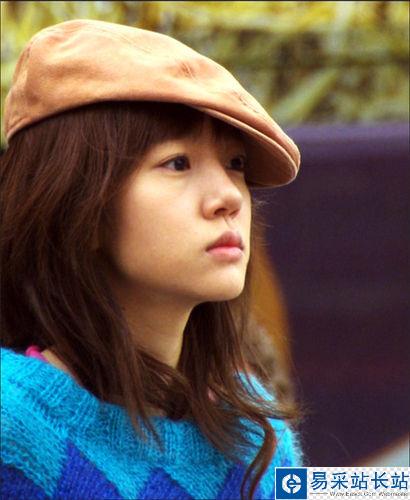
原圖:
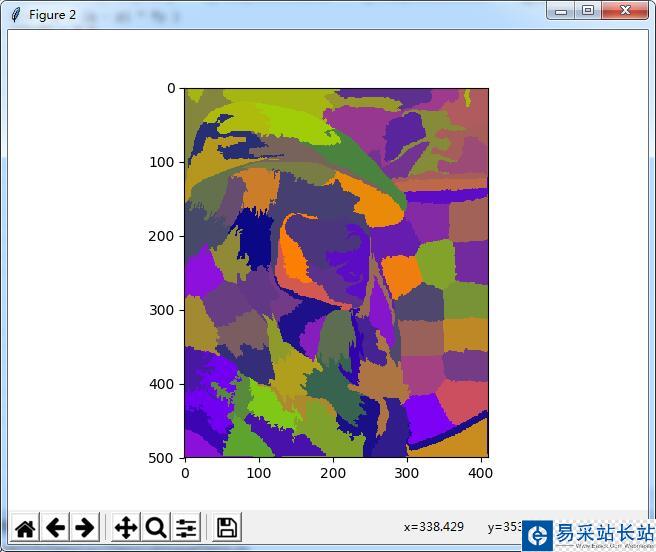
效果圖:
更多關于Python相關內容感興趣的讀者可查看本站專題:《Python圖片操作技巧總結》、《Python數據結構與算法教程》、《Python Socket編程技巧總結》、《Python函數使用技巧總結》、《Python字符串操作技巧匯總》、《Python入門與進階經典教程》及《Python文件與目錄操作技巧匯總》
希望本文所述對大家Python程序設計有所幫助。
新聞熱點


疑難解答