本文實例講述了Python使用Matplotlib實現(xiàn)雨點圖動畫效果的方法。分享給大家供大家參考,具體如下:
關鍵點
win10安裝ffmpeg
animation函數(shù)使用
update函數(shù)
win10安裝ffmpeg
因為最后要將動畫圖保存為.mp4格式,要用到ffmpeg,去官網(wǎng)下載,我az下載的是windows64bit static版本的,下載后解壓到軟件安裝常用路徑,并將ffmpeg路徑添加到環(huán)境變量(這個方法在最后沒用,但還是添加一下)
animationa函數(shù)
準確來說是animation.FuncAnimation函數(shù)
常用參數(shù):
animation.FuncAnimation(fig,func,frames,init_func,interval) fig:matplotlib.figure.Figure
func:每一幀都被調用,函數(shù)的第一個參數(shù)就是下一個參數(shù)frames里的value
frames:iterable,可以是整數(shù),整數(shù)的話等同于傳遞range(frames)
init_func:初始化函數(shù),就是fig的最初設置
interval:Delay between frames in milliseconds. Defaults to 200.
update函數(shù)
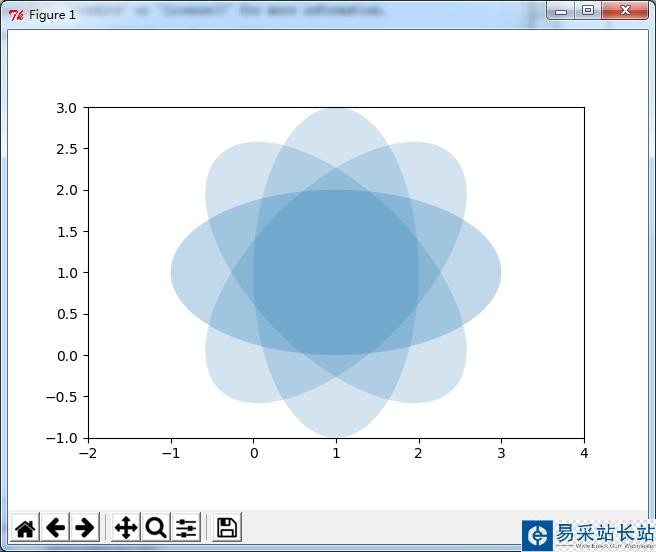
這個函數(shù)涉及到每一幀變化所繪制圖形里參數(shù)的變化,比如例程中的雨點大小,顏色,位置等(散點圖scatter繪制),具體看代碼
程序實現(xiàn)
最初找到了例程的基于BSD協(xié)議的,經(jīng)過一些自己的修改,所以我也在代碼中貼上該協(xié)議
# -----------------------------------------------------------------------------# Copyright (c) 2015, Nicolas P. Rougier. All Rights Reserved.# Distributed under the (new) BSD License. See LICENSE.txt for more info.# -----------------------------------------------------------------------------import numpy as npimport matplotlibimport matplotlib.pyplot as pltfrom matplotlib.animation import FuncAnimationfrom matplotlib import animationimport os#確定ffmpeg.exe的位置,試過加在環(huán)境變量里但依然提示找不到MovieWriter,最后這個方法解決了,在Python2.7版本路徑名前面要聲明編碼是unicode的,而在Python3中有無均可,這是2.X和3.x版本的一個編碼方面的區(qū)別plt.rcParams['animation.ffmpeg_path'] = u"D://Applications//ffmpeg-20170503-a75ef15-win64-static//bin//ffmpeg.exe"#這里改變當前工作路徑,方便下面保存文件的時候自動保存到該路徑下面os.chdir("d://Files//python//matplotlib") # No toolbarmatplotlib.rcParams['toolbar'] = 'None'# New figure with white backgroundfig = plt.figure(figsize=(6,6), facecolor='white')# New axis over the whole figureand a 1:1 aspect ratio# ax = fig.add_axes([0,0,1,1], frameon=False, aspect=1)ax = fig.add_axes([0.005,0.005,0.990,0.990], frameon=True, aspect=1)# Number of ringn = 50size_min = 50size_max = 50*50# Ring position ,圓環(huán)位置,范圍在[0,1]之間P = np.random.uniform(0,1,(n,2))# Ring colors環(huán)的顏色C = np.ones((n,4)) * (0,1,0,1)#C = np.ones((n,3)) * (1,0,1)# Alpha color channel goes from 0 (transparent) to 1 (opaque)# 透明度,數(shù)值在[0,1]之間C[:,2] = np.linspace(0,1,n)# Ring sizes環(huán)的大小,范圍在[50,2500]S = np.linspace(size_min, size_max, n)# Scatter plot# 散點圖繪制scat = ax.scatter(P[:,0], P[:,1], s=S, lw = 0.5, edgecolors = C, facecolors='None')# Ensure limits are [0,1] and remove ticks#保證x,y的范圍在[0,1]之間,移除坐標軸標記ax.set_xlim(0,1), ax.set_xticks([])ax.set_ylim(0,1), ax.set_yticks([])def update(frame): global P, C, S # Every ring is made more transparent每個環(huán)變得更透明 C[:,3] = np.maximum(0, C[:,3] - 1.0/n) # Each ring is made larger每個環(huán)都比原來的大 S += (size_max - size_min) / n # Reset ring specific ring (relative to frame number) i = frame % 50 P[i] = np.random.uniform(0,1,2) # P[i] = P[i,:],同時改變了x,y兩個位置的值 S[i] = size_min #從最小的形狀開始 C[i,3] = 1 #設置透明度為1 # Update scatter object # 更新scatter繪圖對象的屬性,例如edgecolors,sizes,offsets等 scat.set_edgecolors(C) #設置邊緣顏色 scat.set_sizes(S) #設置大小 scat.set_offsets(P) #設置偏置 return scat,animate = FuncAnimation(fig, update, frames = 300,interval=70)#interval是每隔70毫秒更新一次,可以查看helpFFwriter = animation.FFMpegWriter(fps=20) #frame per second幀每秒animate.save('rain.mp4', writer=FFwriter,dpi=360)#設置分辨率plt.show()
新聞熱點


疑難解答